Pages

Monday, October 19, 2015

Biscuits!!

FINALLY!!  I love biscuits!  I have been searching high and low for a decent biscuit recipe that holds up and doesn't crumble when you touch it but also doesn't taste too much different than the real thing.  I can't get an exact replica because wheat flour has such a distinct taste (as does almond flour and coconut flour), but I think I've done a decent job.....at least I hope I have :)  Anyway, I've been promising this recipe for a while now, but I wanted to tweak it every which way before actually putting it out there.......I think I finally did it.  Soooo, here goes nothin!

By the way, here's a little disclaimer...haha...these are grain free, but they are definitely not low calorie or low fat.

Grain Free Biscuits!

1 Cup Almond Flour (I use this kind...affiliate link)
1 Cup Arrowroot flour (plus a little for sprinkling)
3 Tbsp Coconut Flour (plus a little for sprinkling)
*1/2 tsp Salt
1 Tbsp Grain Free Baking Powder (go here to see how to make your own)
*1/2 Cup Salted Butter (room temp or softened works better, but cold is fine too)
1/2 Cup Milk

1-2 Tbsp melted butter
oil for pan (I use coconut oil)

1.  Preheat oven to 350 degrees.  Place a bit of oil on the bottom of a cookie sheet.  Spread around and set aside.

2.  In a large mixing bowl, whisk together flours, salt and baking powder.

3.  Using your hands, gently cut in butter until there are no large chunks left.  I have used cold and also room temperature.  Either works fine (room temp is easier), but make sure you cut up the cold butter to make it easier to incorporate.  Also, don't squish the dough into a ball.  It should be crumbly.  If you squish it or over work it, it will bring out the almond flour flavor more than if you gently work it and leave it crumbly.

4.  Add milk and let sit for a few minutes to let the coconut flour thicken.

5.  Sprinkle arrowroot and coconut flour onto a flat surface (I just use a plastic cutting board, but you could use your clean counter top or put down saran wrap or parchment paper).

6.  Pour out dough onto prepared surface.

7.  Sprinkle a little of the arrowroot and coconut flours on top of your ball of dough and knead a couple of times (like literally two to three times at the most).

8.  Pat out dough to about an inch thick and cut out biscuits with a small mouth mason jar.

9.  Place raw biscuits onto prepared pan and lightly coat the top of each biscuit with the melted butter.

10.  Bake in 350 degree oven for approximately 30 minutes.  The buiscuits will be golden brown and will have a nice crisp brown bottom.

Enjoy!!

* You can sub salted butter with coconut oil or unsalted butter.  If you do this, be sure to increase the amount of salt to 3/4 tsp.

Sunday, September 27, 2015

A Bit of my Heart...

So, I'm not one to talk a lot about feelings or really let people see anything but "happy" me, so I tend to hold people at arms length, I think.  I wish I wasn't like that and I didn't used to be, but I have a lot of past hurt and it's hard for me to trust and let go.  Because of this, I tend to be lonely a lot and I deal with some depression and then I wonder why people don't call or reach out to me.  And then God reminds me of something He did for me not too long ago and I'd like to share it with you all.  I have actually been feeling him press me to write this post for a few weeks, but I have kinda wanted to keep it between God and me, so I have put it off a little under the guise of being too busy.  I'm sorry Lord for delaying.....

Anyway, about two or so years ago I was in an especially dry patch,  I was so lonely for friends....I would've done practically anything to have a good girlfriend who would stick with me and not let our friendship fall by the wayside because I didn't text or ask to hang out or whatever.  I needed someone to want to be MY friend, to call or text me just to see how I was or to say they missed me when I wasn't at church or to ask to hang out with me and my kids.  I was lonely for Mike....he was working his normal schedule on the night shift (12 hours is a LONG time) and I was still adjusting to being a mom of two.  I had postpartum depression, and I was tired and sad and lonely.  I couldn't feel God near me at all and I was begging for him to reveal Himself to me and to let me know he was there.  I was sweeping the kitchen when it happened.  Here's just how sweet God is.....I was listening to the Kari Jobe station (I think) on Pandora on my tv and I was sweeping and praying and asking "God are you there?" and next thing I know, I am hearing these words sing from my television....

"You're not alone for I am here
Let me wipe away your every fear
My love, I've never left your side
I have seen you through the darkest night
And I'm the One who's loved you all your life
All of your life"

I know it's just a song on the radio, but it spoke deep into my soul.  He pursued my heart that day and I will never forget it.  He is there and He's loved me all of my life...He's THE One.  The only one who can complete my heart and comfort my soul.  I'm still looking for that friend, but I'm not as desperate as I once was.  And I still struggle with postpartum depression and loneliness for community but I can say that despite all of that, I have the joy of the Lord in my heart and He can do that for you too....just ask Him.  :)

Sunday, July 19, 2015

Grain Free Peach Muffins

A couple weeks ago, Mike and I harvested our peach tree.  The squirrels and the crows were eating so many every day and selfishly, we wanted them all for ourselves (haha), so we picked them.  We had 2 5-gallon buckets full of wonderful and delicious peaches!  We canned a bunch, made peach preserves, and then used the seeds and peels to make jelly.  Yuuuuummm!  (sung like an opera singer)   :)

I'm working on a biscuit recipe that I will be posting soon that I can top with that yummy jelly and preserves (I ran out of ingredients and haven't made it all the way to the right store to restock, otherwise it would be posted already....just working out the cook time, so expect it soon).  Anyway, that's for another day......

Here are a few pictures of the fruits of our labor  :)

                                (see my little helper in the background??)


So, since we had all of this peach deliciousness going on, it was only fitting that I create something with peaches.  We were in need of breakfast this morning, so I came up with these muffins.  I hope you enjoy!!

Peach Muffins

2 c Almond Flour
1/2 c Coconut Flour
1/2 tsp Baking Soda
1/2 tsp Salt
1/2 tsp Cinnamon
1/4 tsp Cardamom
1/8 tsp Ginger
6 Eggs
1/2 c Honey
1 tsp Vanilla
1 c sliced peaches, fresh or canned

Topping
2 Tbsp Butter, melted
2 Tbsp Almond Flour
2 Tbsp Coconut Sugar
1/2 tsp Cinnamon
1/4 tsp Cardamom
1/8 tsp Ginger


Preheat oven to 350 Degrees.

Line 12 muffin cups with parchment paper liners.  I like to use these (affiliate link).  They are wonderful!!

Measure out your sliced peaches, then chop into small pieces and set aside.

In a large mixing bowl, combine flours, baking soda, salt and spices. In a small mixing bowl, whisk together the eggs, honey and vanilla.  You probably want to be careful because it likes to slosh out :)  Add wet ingredients to dry ingredients and stir to combine.  Gently stir in peaches.

Using an ice cream scooper or a 1/4 cup measuring cup, fill muffin cups with the batter.

Make the topping by mixing all the topping ingredients except the butter together in a small bowl.

With a silicon brush, dab some of the butter on top of each muffin.  Then sprinkle with topping.  Feel free to use it all...I do :)  It's yummy!

Bake for 30-40 minutes.  Muffins should be firm but springy when they are done.  Enjoy!!!


Monday, June 29, 2015

Apple Cider Vinegar

It worked!!!  My second (and now third!) attempt of apple cider vinegar worked!  I'm so excited to share with you!

My first try failed miserably!  I didn't realize exactly what I needed to do, and it molded on top.  YUCK!  So, I tossed that batch and started over.  Here's how you do it!

I had made my recipe for Spiced Apples and had all the leftover cores and peels.  So, I put them in a mason jar (pack them down pretty good) and then filled the jar with filtered water.


Next, cover with a coffee filter (I secured it with the ring part of the lid, but you can use a rubber band instead) and set it at the back of my counter by the wall.  I have read that it really should be placed in a cool dark place, but I forget it is there and thus the moldy first attempt.  It worked leaving it out in the daylight just fine.  Every day, take a fork (or I have this masher (afflilate link) that I love!!) and push the apple pieces down under the water.  This step is VERY important because the apples have to be under the water in order to ferment properly and not mold.


Now you just wait.  It will begin to develop a whitish film on top.  This is good!  It is called "the mother" and it means that your vinegar is fermenting properly and is getting some really good stuff in it.  After about 2 weeks, I strained out the apples and returned the liquid to the jar and put the lid on it.  Then I set it up in my cabinet to continue to ferment more.  Feel free to taste it and once it has reached your desired vinegar-ness, start using it.  :)   That's it!  That's all you have to do!  It's simple and so good for you!!  


And now......a bit about life in the last few months!  It's been crazy!  Let's see, where to start.....Well, it's been raining like crazy, so we planted our garden late.  And then it rained and rained and rained and nothing grew.  So, we replanted.  And nothing grew again.  So, we bought plants and finally we have been seeing a little bit of the fruits of our labor (not sure why some of the pictures are turned around wrong....sorry about that).  


We also got cows!  We had a small steer calf and a bigger steer, but the coyotes got the calf (sad, sad day) so now we just have the bigger one.  Here he is!


Since the coyotes are so bad, we got 3 donkeys.  Here they are!!  They are a little far away, but they are starting to warm up to us, so hopefully we can get some closer pics soon!


This sweet girl turned 1!!!  I can't believe how big she is getting!!!


 (she did not like the party hat, but she loved the cake.....until I took it away.  
poor, sad adorable baby!)


 And this guy (my oldest baby) turned 6 (and all my party pics are on my camera....booooo!)!  It really was a fun party!


Birthday pancakes


Cupcakes!


Mike's nephew also got married, so we made a trip to Arizona.  It's been busy, busy, busy!!!

Anyway, thank you all for being patient and continuing to read my blog.  Be sure you check out my facebook page for more about our life as we learn how to be farmers!  :)

Tuesday, March 10, 2015

Pan Fried Sweet Potatoes and Our Life as Pig Farmers so Far

Pigs.  We got 'em!


 Meet Little Brownie (aka LB) pictured on the left, and from bottom to top in the right picture, we have Big Brownie (aka BB), The Black One, and Oreo Pig.  Woo hoo!

Here's the story.....

Since our pig pen was completed, Mike and I were on the search for some pigs!  We searched high and low and finally purchased 5 piglets at the auction here in town.  Last Tuesday night, we officially became pig farmers.....Well, I guess you can call us that!  Ha!!  We own some pigs anyway.

So, Tuesday night went well.  We got them to the house and in their new home and they cuddled up and seemed to sleep well. Then the temperature dropped on Wednesday and it snowed.

Great.

Thursday morning, I went out to check the piggies and found one had died sometime in the night.  I was traumatized.  Mike was at work and wasn't going to be home any time soon, so I had to gather up the courage and the guts to get this little guy out from under his friends (they were all cuddled up together) and get him out of the pig area.  WHEW!!  To make a long story short, I did it.  I was upset and crying and shaking and a bit traumatized (PPDSD....post pig death stress disorder, anyone?!), but I did what I needed to do and survived.  Thank goodness!  Everyone seemed healthy the rest of the day......


......And then.....


Our favorite one (personality wise) didn't get up Thursday morning when I took breakfast out.  She is always the first one to come out and greet us and let us pet her....sweet little pig.  I was so afraid of what I'd find when I walked over to the pig shelter.  Thankfully, she was alive, but she was definitely sick.  She was breathing hard, coughing and gagging.  It was very sad.  Then I noticed that the other three were coughing a little when they got up or ran too far.  So, Mike and I called the vet.  They thought it was probably pneumonia and recommended that we give them a shot (one they recommend to give to any new pig because they are so susceptible to sickness when under stress, but especially ones that were purchased at auction....wish we had known that before the other pig died).  So after chasing pigs around for about an hour, we caught them all and gave them their shots.  Whew!!  More PPDSD.....except I guess this would be PPSSD (post pig shot stress disorder) because the pigs lived....YAY!   Either way, it was probably very comical for the neighbors to watch.  

That night, BB (the sickest one), got up to eat and drink and every day she and the others have shown improvement.  Thank the Lord!  Praying things stay this way :0)

Some things that will be coming up in the weeks to come.......

We are working on tilling up our garden area right now and we will be planting shortly after that.  We thought we would have been planted by now but the weather has been very cold.  I'm so glad we waited.

Another item we will be working on and building is our chicken coop and run area.  I'm so excited about this!!  Although I'm allergic to birds, I'm hoping we can build a coop with enough ventilation that I can still work with them and be part of the chicken raising experience.

Hopefully soon we will get some cows.


Ok, so now for the recipe.....


Sometimes you just need an easy side item that is simple, quick and tastes great.  This is one of those kind of dishes.  We have these for any meal and my kids love them!


Pan Fried Sweet Potatoes

2 Tbsp Coconut Oil (I like this one....affiliate link)
3 medium sweet potatoes, peeled and cubed
1 Tbsp butter
1 tsp cinnamon
salt, to taste

Melt coconut oil over medium high heat.  When oil is hot, add sweet potatoes and sprinkle with salt.  Cook until the edges are brown and the potatoes are tender.  You might need to adjust the cooking temperature to make sure they do not burn.

Once the potatoes are done, add the butter and cinnamon.  Stir until the cinnamon is dispersed and the butter is melted.  Serve immediately.


Once again, here are my boys plates!  

(Michael's)                                                                                              (Ethan's)

Saturday, February 28, 2015

Thai Curry and our pig pen

Hi everyone!  I'm sorry I've been a little MIA lately.  It seems that we cannot get over being sick!!  My kids catch something, then Mike and me, or just me, and then it all starts over again.  It's been quite frustrating to say the least.  But we've been trucking along trying to get the areas ready for animals and so far, the pasture is ready for cows and the pig area is ready for pigs......we just need to find some animals.  That's really been the most difficult part!  Who knew that finding someone to sell you a pig or two would be a struggle!?!  <sigh>

Anyway, I thought I would post some pictures of the making of our pig pen area for you all to see....and if you know of anyone who wants to sell some pigs, please let me know (even the agg office couldn't help....sad).  We are also going to try the pig auction again Tuesday night, so wish us luck!!!


Grrr!!  Ready to take on a metal building!


Getting ready!  Gotta stay hydrated :)

Clearing out the area
(I even got in on the fun!)


Hi Mom!

                                                                
Setting up the fence. 


Trying to stay warm and see what her brothers are doing.


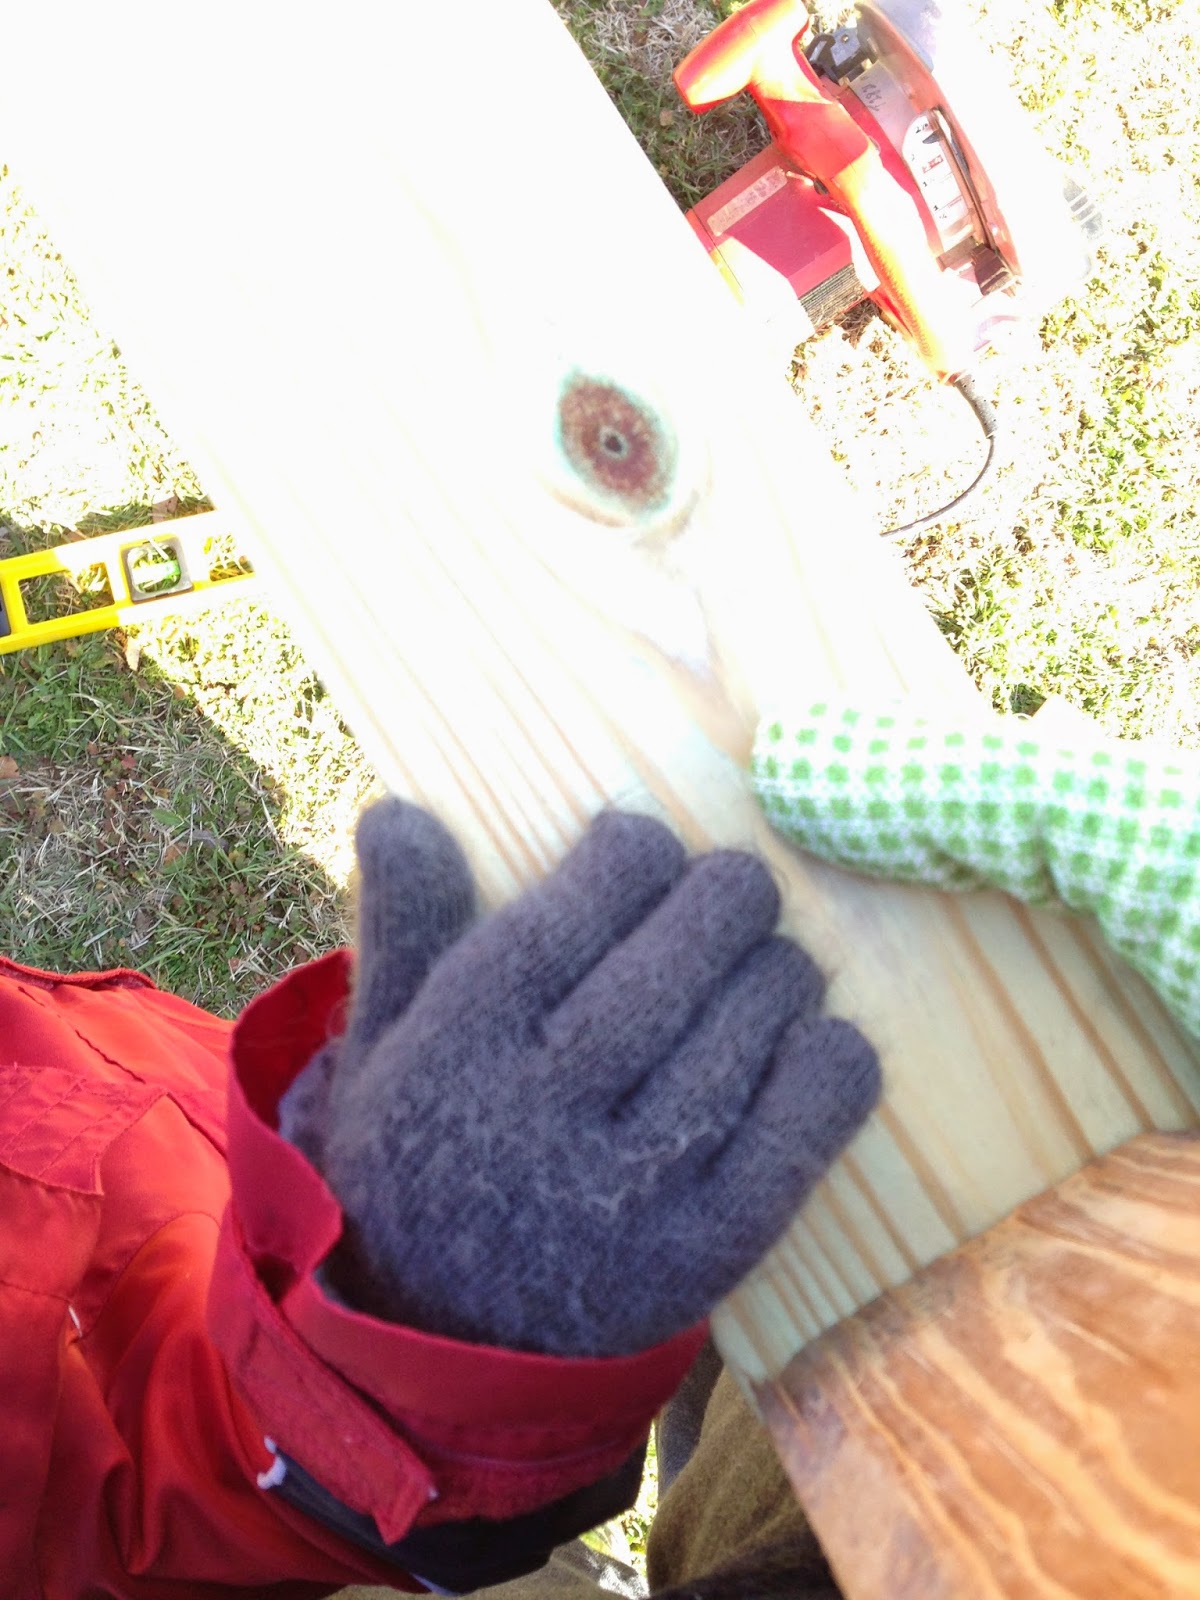
Sweet little helping hands.


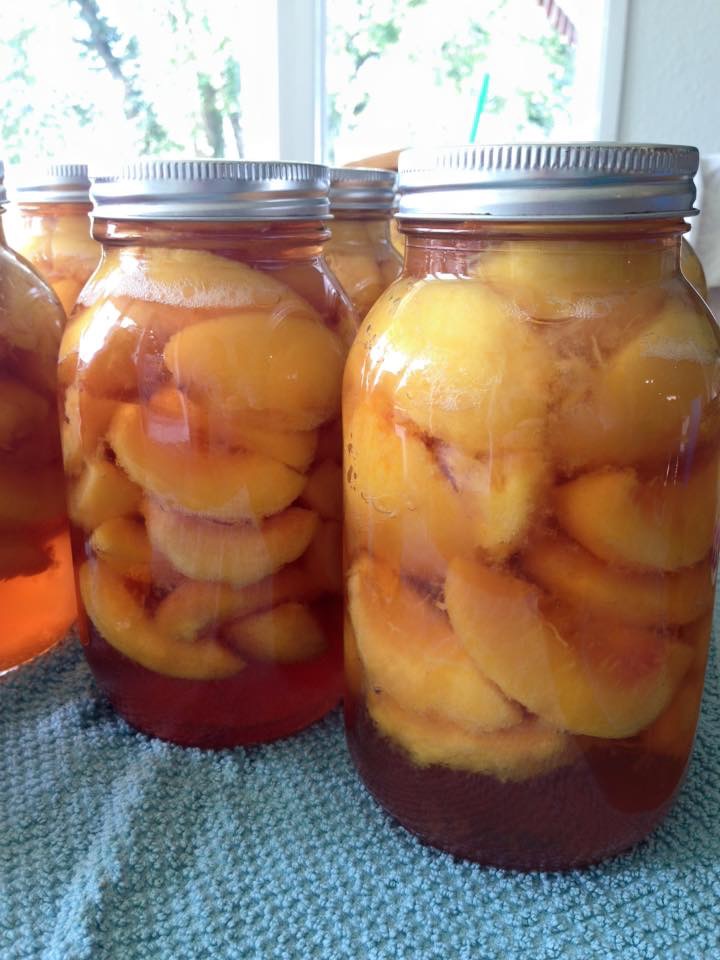
Break time!  Apples for snack!


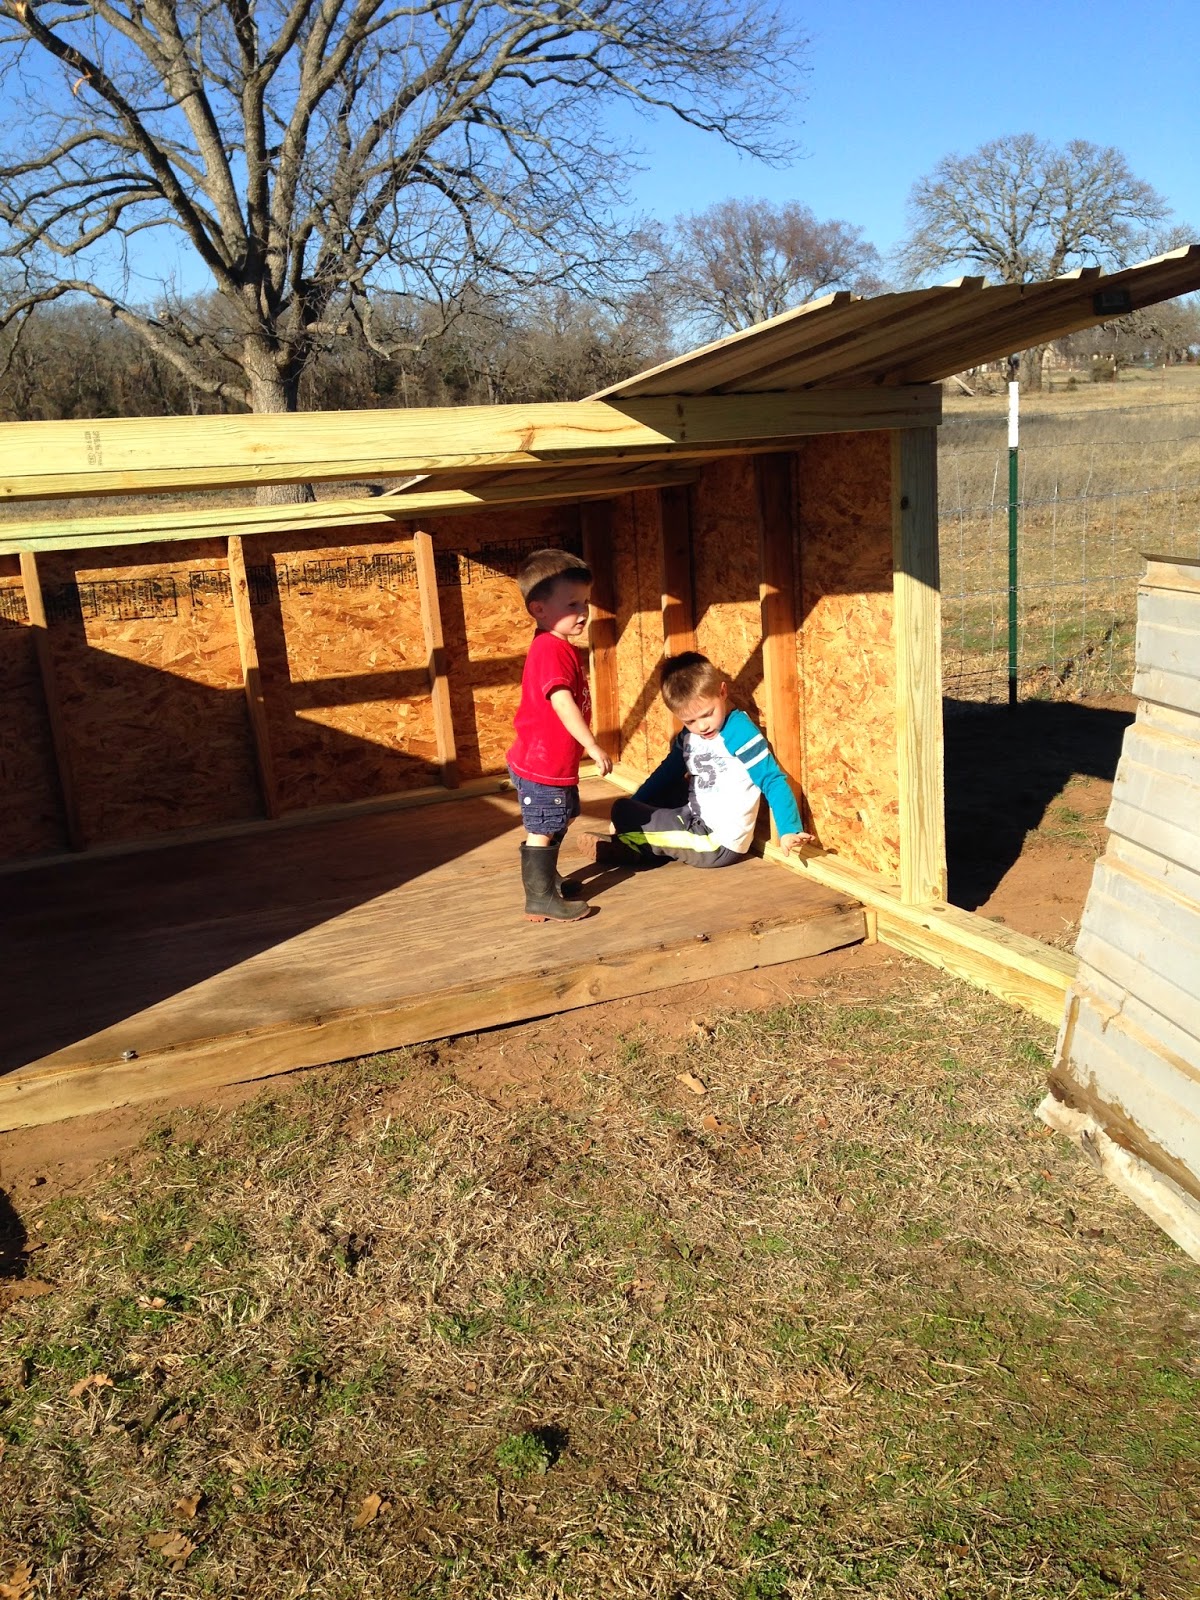
Almost done....just need the roof and some paint.


 All Done!  
(although I think we might change the paint a little)


So I have been going through a time when I am just not feeling creative.  So I have been making other people's recipes for dinner.  This is great because I get to try a lot of new things, but it doesn't leave me with much to blog about.  However, I wanted to share this recipe with you that I have made a few times.  I love it.  Mike loves it.  My KIDS love it!  It's delicious!!  

So, when Ethan was born, we started watching the food network a lot.  Like a ridiculous amount of time.  I was recovering from a csection and Mike and I didn't want to constantly be watching Disney Jr or Nick Jr (I can only take so much of that!!), but we didn't know what else was kid friendly, so that was our "go to" adult tv.  ha!  Anyway, so Michael started loving watching it with us and one of our favorites became Giada at Home.  It's still one of our favs!  So, on this one episode, she was talking about her visit to Thailand with her sister (I think) and she said she wanted to make something to remind her of the flavors of Thailand and kind of take her back to that time through the food.  I remembered that Mike had told me about a trip he made to Thailand and how much he loved it and the food, so I thought I would give this a try.  He  was very happy, to say the least and said "it took him right back".....Now, babe, you need to take me to Thailand, so I can "go back" too!  :)

There were a couple of things in the original recipe I couldn't find (or were way expensive...fresh shrimp!  WOW!), so I had to sub them out.  So, I will post my version here (which really isn't too much different...Thai food is very grain/gluten-free friendly).   Don't let the amount of the ingredients overwhelm you or intimidate you.  This really is not a real difficult recipe. I will say though,  that you will probably want to prep a little ahead of time and get your veggies chopped before you get started cooking.

Thai Curry-4-6 boneless, skinless chicken thighs 
-2 - 15oz cans of full fat coconut milk (affiliate link)
-1 cup bone broth (here's how to make your own)
-1/4 c green curry paste
-1 medium carrot, peeled and sliced into 1/4 in rounds
-1 red bell pepper, chopped 1/4 in pieces
-1 onion, chopped
-5 sprigs basil with stems
the juice of 1 lime
-1 1/2 Tbsp fish sauce (affiliate link)
-4 oz snap peas, halved
-2 bunches of green bean noodles, soaked until plyable (you can find them in the asian food section or here....affiliate link)
-Salt and pepper


Preheat oven to 425 degrees.  Salt and pepper chicken and place in an oven safe baking dish.  Bake for about 45 minutes or until the temperature reaches 170 degrees on a meat thermometer and the juices run clear.

In a large saucepan, bring the coconut milk, broth and curry paste to a boil on medium high heat, whisking until smooth.  Add the carrot, red bell pepper, onion, basil, lime juice, and fish sauce.  Bring to a simmer, cover and cook for 30 minutes or until the veggies are tender.

When the chicken is done, slice and add to the pan, along with the peas and the noodles.  Simmer uncovered for about 5-7 minutes.  Remove and discard the basil sprigs. Serve immediately!